When I was a beginner, I found the electrical system on my e-bike a bit confusing at first. I have therefore included this Anatomy of My E-Bike to illustrate the various components of the electrical system of an e-bike.
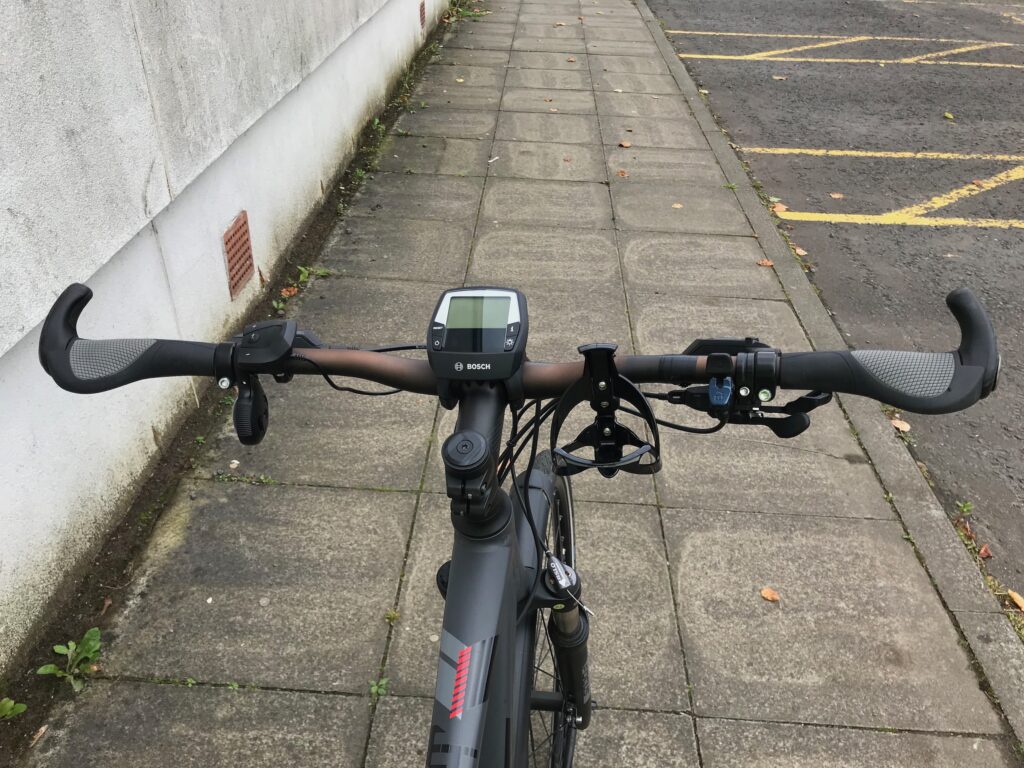
When researching e-bikes, I soon realised that the main three components are the electric motor, the battery and the display unit. In addition, there is also the assistance level control unit where you select the level of assistance you require. The battery and electric motor are on the frame of the bike. The display unit and the assistance level control unit are on the handlebars.
The three main components of electric motor, battery and display unit were major factors I took into account when buying my e-bike. (Click here to go to the page Buying My E-Bike.) A detailed description of these components is also included in an article in the Which? website. (Click here to go to this article.)
Anatomy of My E-Bike - The Handlebar Components
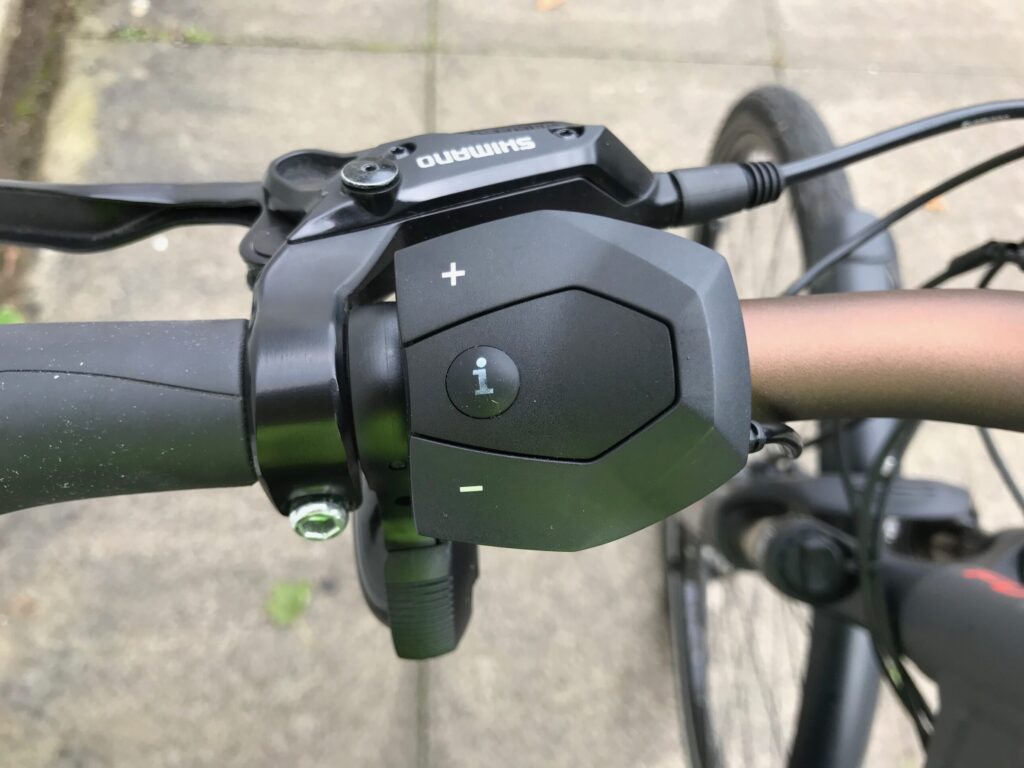
The Assistance Level Control Unit
This unit is on the left side of the handlebar. It is operated just by a flick of the thumb whilst cycling. It is used to change the assistance level provided by the electric motor.
Obviously pressing on the “+” button moves the assistance level up and pressing on the “-” button moves it down. In the Bosch system there are four levels of assistance – ECO, TOUR, SPORT & TURBO. They each offer an increasing level of assistance. Some other manufacturers, however, only offer three levels of assistance.
The middle “i” button scrolls through various details shown in the bottom half of the Display Unit (see below).
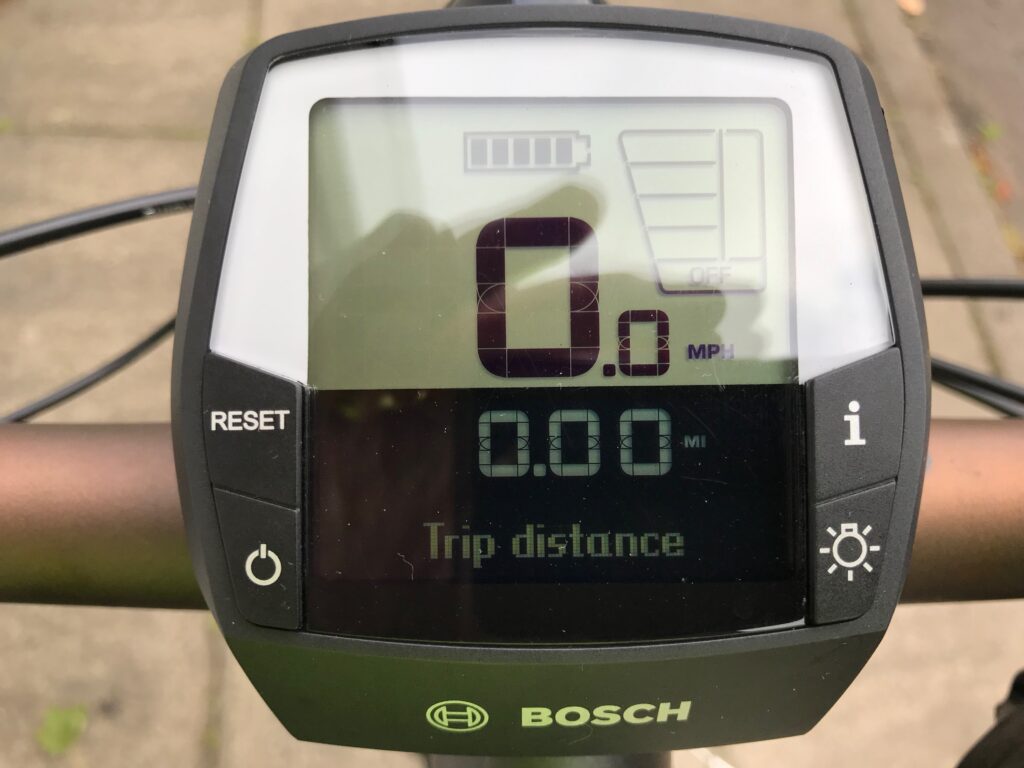
The Display Unit
The top part of the screen
The first icon in this section is the battery level indicator. This has five bars when fully charged. Obviously, the number of bars decrease as you utilise the electric motor.
The large, bold numbers in the centre of the screen indicate the speed you are cycling at. In my case I have chosen miles per hour (MPH) as the unit of measurement.
The grid on the right of the screen relates to the assistance level selected. So, if you start cycling without any assistance the box along the bottom of the grid will display “Off”. You can then select the level of assistance by clicking on the unit on the left side of the handlebars. The level of assistance selected will then be displayed in the boxes above. The column on the right of the grid is a chart that goes up and down to visually indicate the level of assistance being provided by the electric motor.
The Display Unit
The bottom part of the screen
This displays a variety of different types of information, depending on the selection made via the “i” button. Alternatively, the selection can be made by the button on the unit on the left side of the handlebars, as mentioned above. I normally use the latter as it can be easily operated even when wearing gloves.
The data that can be displayed here is Trip distance, Trip time, Average speed, Highest speed, Odometer reading, clock.
The Display Unit
The Buttons
The button on the bottom left side is the power on/off button. Each time you fit the battery to the bike you need to press this button to switch on the display. At the end of a trip, before you remove the battery from the bike and after you’ve reviewed / recorded the data on the screen, you press this button and then remove the battery. You also press this button to reactivate the screen if it has gone blank due to the pedals not being turned for a period of time, e.g. during a lunch stop. (The screen of course is part of the on-board computer on the bike and, like any other computer, it has a screen save function.)
The Reset button is used at the end of a trip to reset certain readings to zero. When the screen is displaying “Trip distance” if you press and hold the Reset button it resets the Trip distance reading to zero. You then need to scroll through to “Maximum speed”. Then press and hold the Reset button and this will reset all the other readings other than Odometer and Clock.
The “i” button is used to scroll through the various readings that appear on the screen.
The button below the “i’ button is used to switch on the front and rear lights that are integrated into the electrical system and thus are powered by the battery.
.
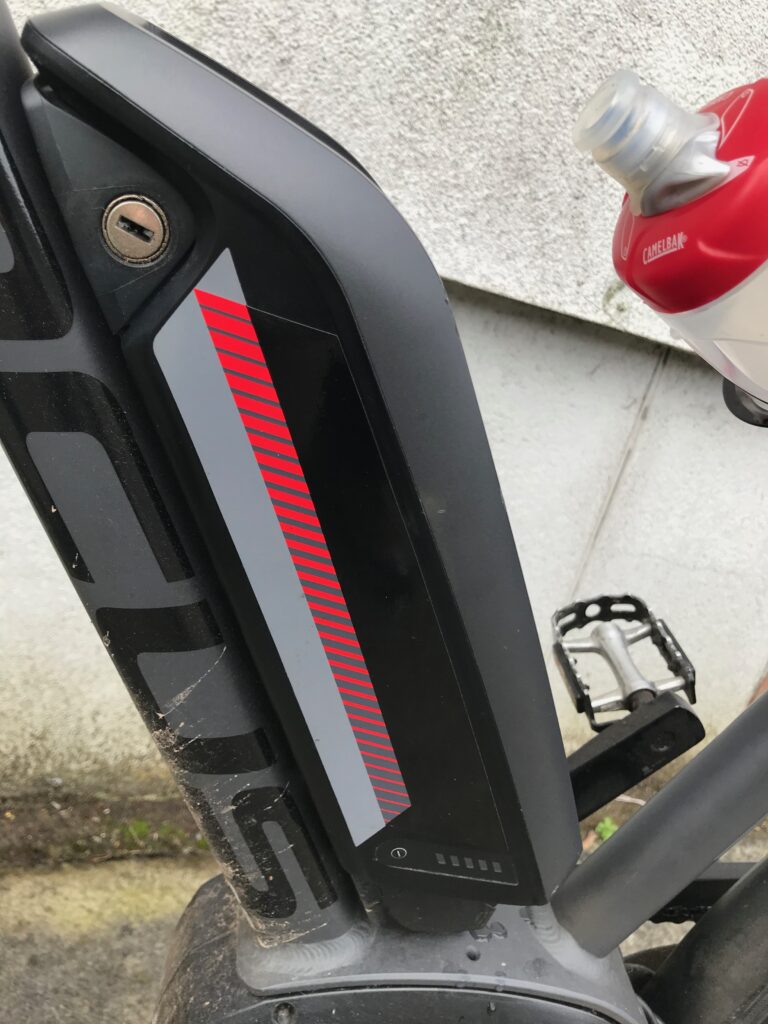
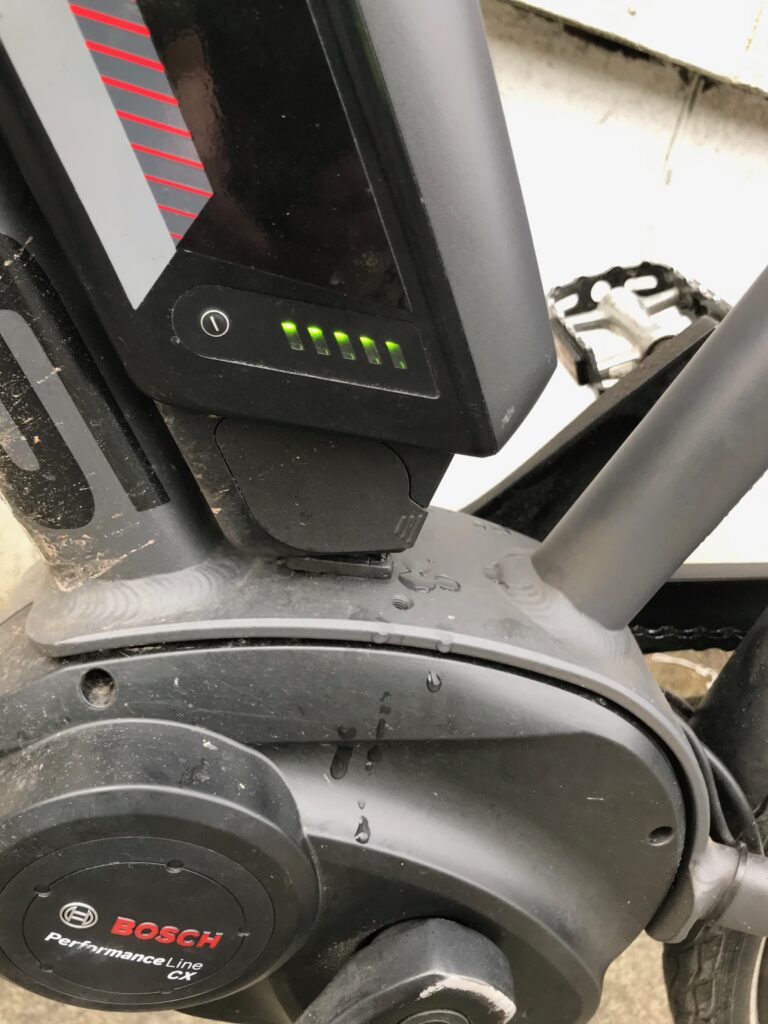
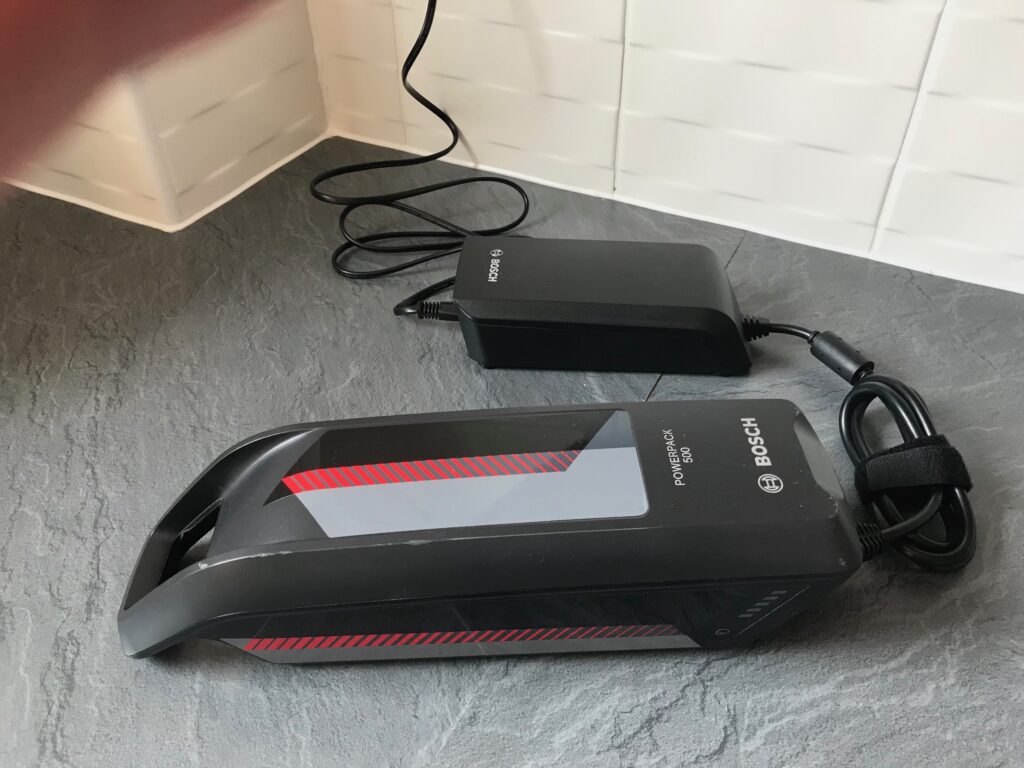
Anatomy of My E-Bike - The Battery
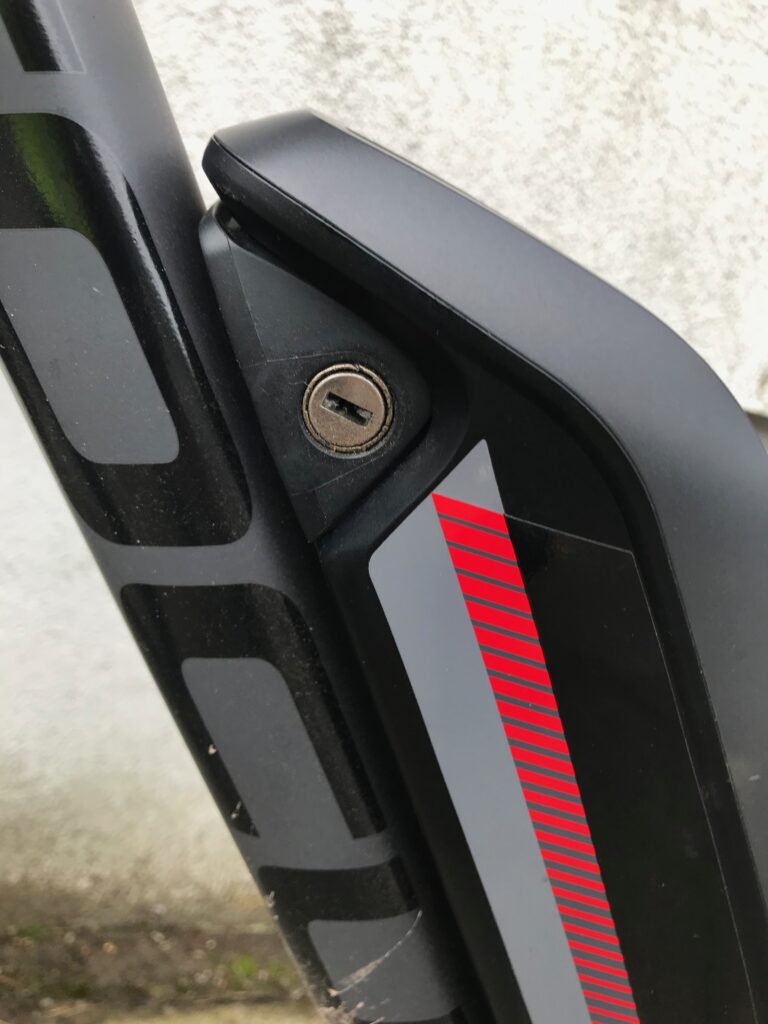
The battery fits on the frame of the bike and is located just above the crankshaft. It has to be locked into position when fitting it to the bike and unlocked to remove it from the bike. Two keys are supplied with the bike.
At the bottom of the battery there is a row of green lights, which is another battery charge level indicator, in addition to the one on the Display screen.
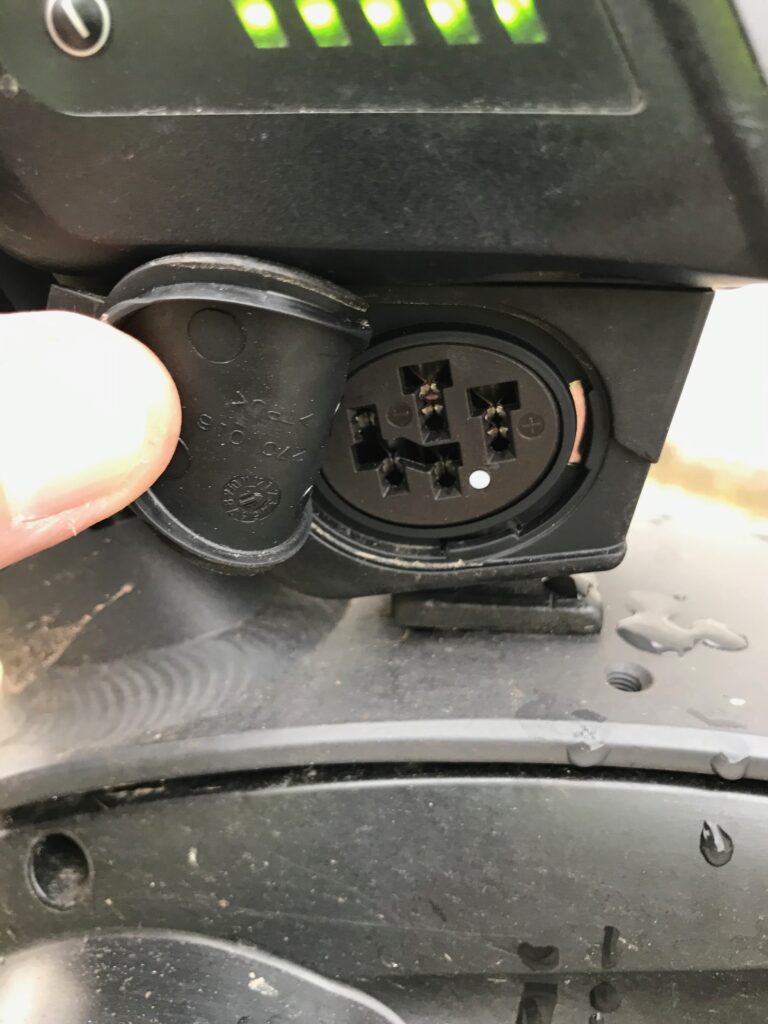
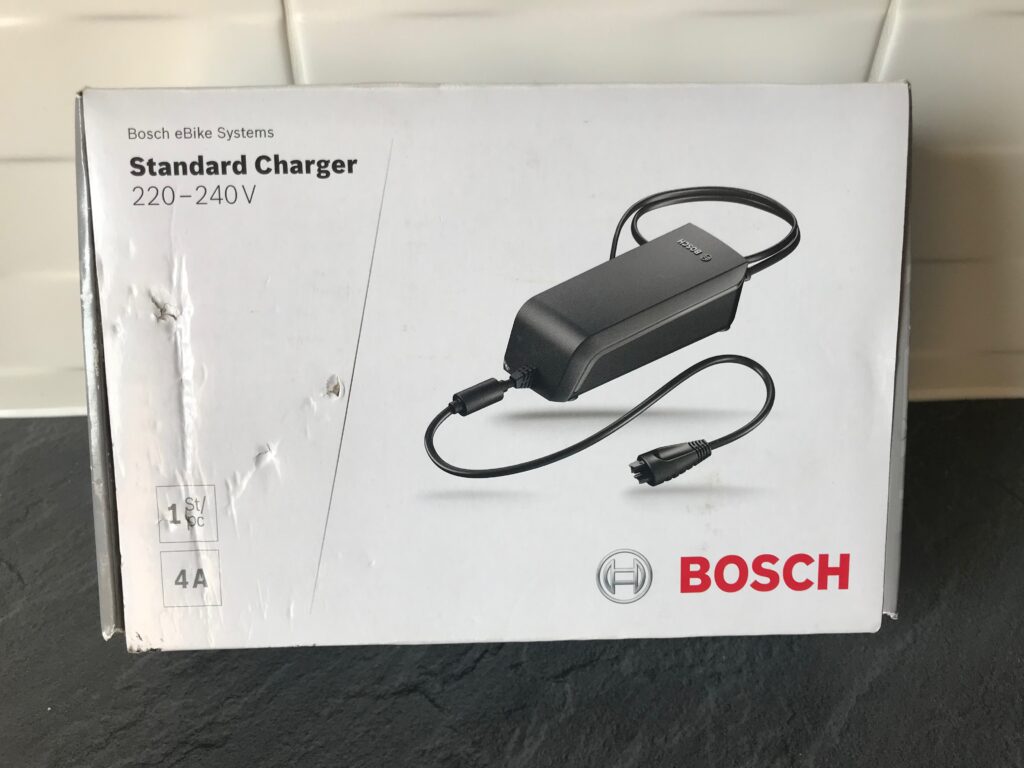
Below this is a flap that covers a port where you can plug in the battery charger that is supplied with the bike for charging the battery whilst still on the bike.
Alternatively, you can take the battery off the bike and charge it in the house, as shown below. This is what I do.
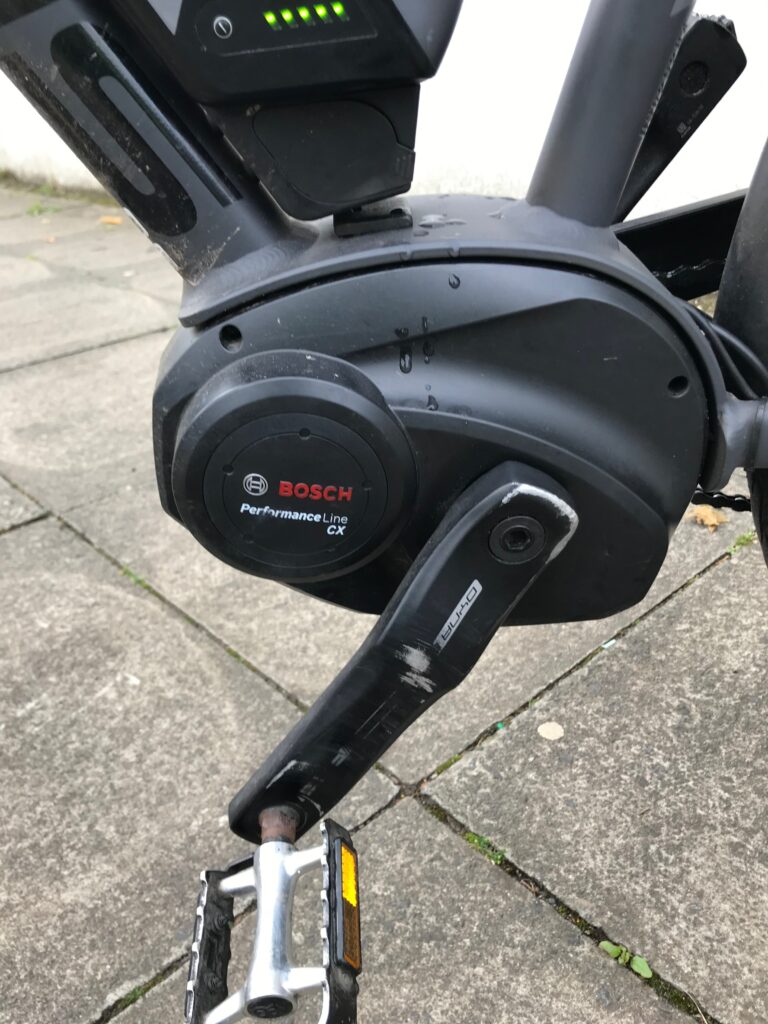
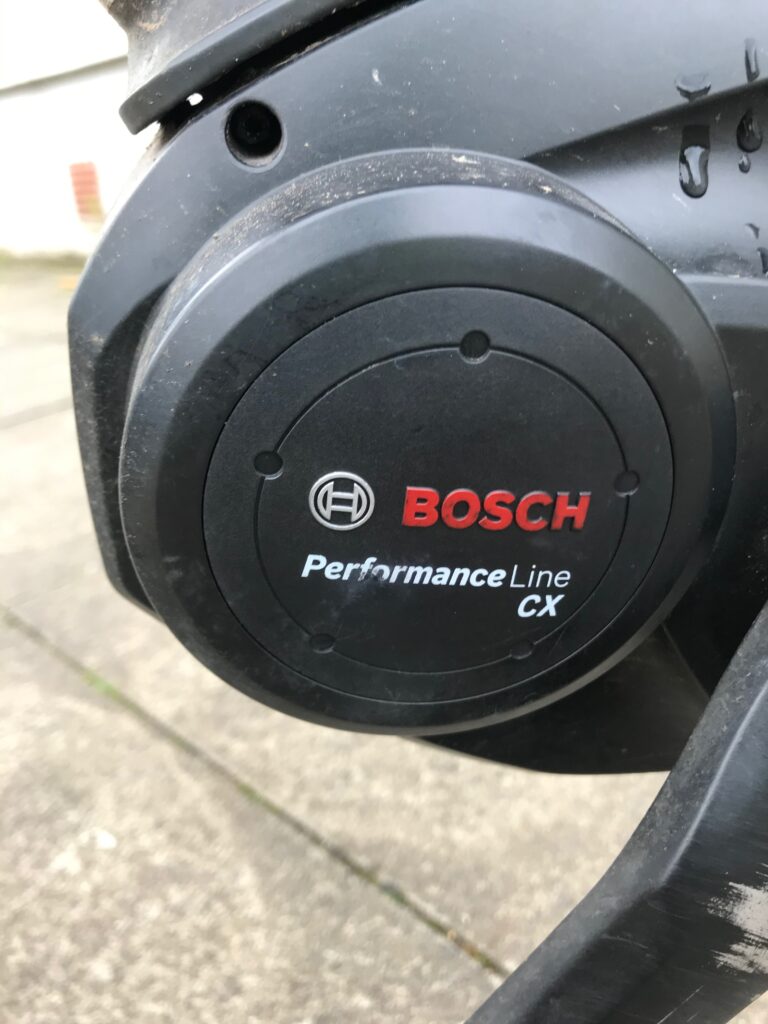
Anatomy of My E-Bike - The Electric Motor
The electric motor on the Bosch system is encased together with the driveshaft of the bike.
Unlike unassisted bikes that normally have three chain rings here, an electrically assisted bike only has one small chainring and this is also located within the casing.
I chose the Performance Line CX motor as I thought it would give me the maximum assistance to get up the many steep hills that I came across in Scotland, both during my day trips and during my annual tours.